
Summary of Steps for Placing a Bassoon Reed Ligature on a Bassoon Reed
By Terry B. Ewell
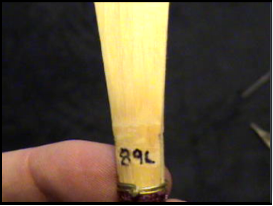
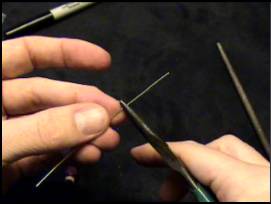
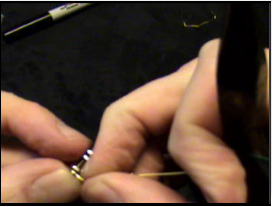
1) Remove first wire on bassoon reed.
2) Choose method of securing the Bassoon Reed Ligature. Methods A, B, or C may be used alone. A (notching) may also be combined with B (trenching) or C (adhesive rubber pad).
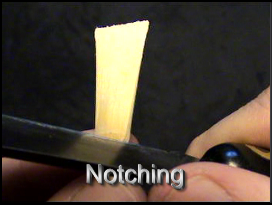
A) Notch with a knife where the wire will contact the reed. I place four notches at the edge of the bark where the wire will contact the reed on the side.
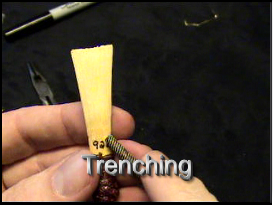
B) Trenching (may be used with notching). Here I use a rat tail file to gouge channels in the bark for placement of the nuts of the Bassoon Reed Ligature. You might also want to use a very small chisel or an exacto knife.
C. Adhesive rubber pad.
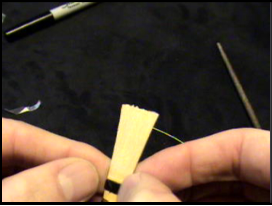
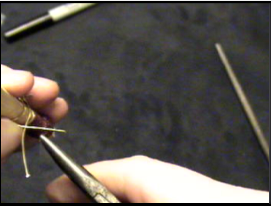
3. Crimp a 3 inch brass wire so that about 1 inch is bent.
4. Affix screw head of Bassoon Reed Ligature into crimped end. Notice that the short wire end needs to be on top, with wires ends to the right.
5. Close the wire securely around the screw head.
6. Bend wire to conform to bassoon reed tube.
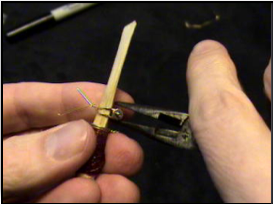
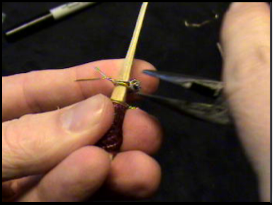
7. Position Bassoon Reed Ligature on the reed.
8. Wrap long wire around the reed and around the last nut starting at the top and looping to the bottom.
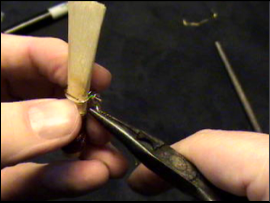
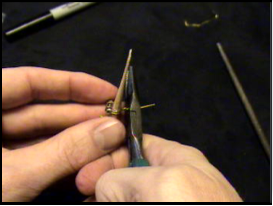
9. Tighten up with pliers. The wire should now be snug around tube opposite the Bassoon Reed Ligature.
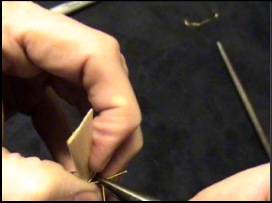
10. Create the "X" with the two ends of the wire. The short wire end is on top and crosses over the long wire end (the end around the nut).
11. Tighten (twist clockwise) and position the wires.
12. "Snug up" the wire around the nut. Close the gap between the two wires.
12. Clip the excess wire.
You did it!
Copyright 2008 by Terry B. Ewell. All Rights Reserved
2) Choose method of securing the Bassoon Reed Ligature. Methods A, B, or C may be used alone. A (notching) may also be combined with B (trenching) or C (adhesive rubber pad).
A) Notch with a knife where the wire will contact the reed. I place four notches at the edge of the bark where the wire will contact the reed on the side.
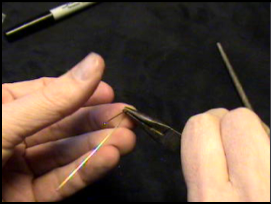
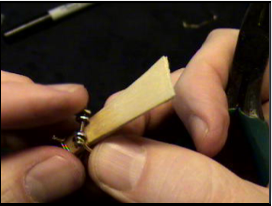
B) Trenching (may be used with notching). Here I use a rat tail file to gouge channels in the bark for placement of the nuts of the Bassoon Reed Ligature. You might also want to use a very small chisel or an exacto knife.
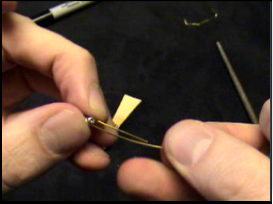
C. Adhesive rubber pad.
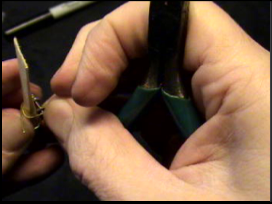
3. Crimp a 3 inch brass wire so that about 1 inch is bent.
4. Affix screw head of Bassoon Reed Ligature into crimped end. Notice that the short wire end needs to be on top, with wires ends to the right.
5. Close the wire securely around the screw head.
6. Bend wire to conform to bassoon reed tube.
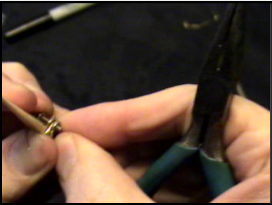
7. Position Bassoon Reed Ligature on the reed.
8. Wrap long wire around the reed and around the last nut starting at the top and looping to the bottom.
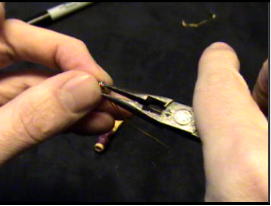
9. Tighten up with pliers. The wire should now be snug around tube opposite the Bassoon Reed Ligature.
10. Create the "X" with the two ends of the wire. The short wire end is on top and crosses over the long wire end (the end around the nut).
11. Tighten (twist clockwise) and position the wires.
12. "Snug up" the wire around the nut. Close the gap between the two wires.
12. Clip the excess wire.
You did it!
Copyright 2008 by Terry B. Ewell. All Rights Reserved